How to convert DSLR RAW images to DNG and edit them on Android
 Editing RAW images from your DSLR camera is quite easily done on desktop, with tools like Adobe Lightroom and free alternatives like RawTherapee being the norm, but what about on mobile?
In this tutorial we'll talk about transferring RAW image files from your DSLR camera to your Android device and edit them right there, within the mobile environment. The basic workflow is this: transfer the raw files to Android, convert them to DNG with the raw2dng app, edit them in Snapseed, save or share the result.
Update: Snapseed can now read a lot more raw extensions then it used to, so you should first try opening your camera's default RAW format with it and if it fails, use the tutorial below to convert the RAW format to DNG. Original article continues below.
Before we start, let's talk about why. Why would you want to do that? Is it worth it? Does it make sense?
The Why
Convenience, in some cases.
More and more professional photographers are using mobile mediums to promote their business these days. Instagram alone emerged as a mobile oriented community only, but now it's "invaded" with professionally captured images. Since Instagram does not come with a native desktop solution to upload your images, posting edited raw images on Instagram can be done in 3 main ways:
- Edit the raw image files on desktop, export them as png or jpeg, transfer them to your Android device from where you can post them to Instagram
- Edit the raw image files on desktop, export them as png or jpeg, transfer them to a desktop Android emulator (like Andy, AMIDuOS, Bluestacks, or Genymotion) and upload to Instagram from there
- Transfer the raw images on your Android device, edit them on Android, upload them to Instagram
This tutorial covers scenario 3 from above, perfectly.
To further add to the RAW editing on Android cause, even the latest Android updates, from Lollipop (5.0) onwards, added the capability so that phone cameras can save raw files, if the manufacturers choose to use Camera2 API on their Android-based OSes. In the near future we'll most likely see more and more Android devices with cameras shooting in raw, besides the usual jpeg.
In the end, is up to you. If you feel that raw editing on mobile is just not good for your needs, just don't do it on Android. After all, you can still transfer the file edited on desktop, to your Android tablet, phablet or phone, and continue from there, if this scenario suits you.
The RAW transfer
As stated in the intro, editing raw image files on desktop is easy. If you do edit them desktop side, then all you have to do is transfer the exported PNG or JPEG results to your Android device and go from there.
In this tutorial however, we are showing you how to edit the raw image files right within Android, so first you will need to transfer your raw files to your Android device. You can do this in more than one way.
Firstly, with DSLR WiFi enabled cameras, the transfer is quite straight forward.
If you don't have a WiFi enabled camera, than you can use a USB OTG cable to transfer from camera to your Android device, if your Android device comes with OTG support. Or use an Eye-Fi memory card on your DSLR camera.
Another option is to use your desktop PC as a middle-man. Transfer the raw image files on it, then move them to your Android device using a data USB cable, or an app like AirDroid, or even a FTP server app on your Android device. Such an example of a FTP server app is aptly named FTPServer, but many other alternatives exist. Even ES File Explorer or X-plore File Manager come with a FTP Server module. Once you've enabled the FTP Server on your Android device, you'll be given a ftp address to connect to, from your computer. Enter that address in your computer's file explorer, or use a desktop FTP client to connect to it.
As northernwarrior pointed out in the comments below (thanks!), if your phone comes with microSD card support, you can use a microSD card + SD card adapter for your DSLR and then just transfer the microSD to your phone and work with the original RAW files from there.
Finally, you can use cloud services too. Google Drive, OneDrive, Dropbox (or Carousel from Dropbox) can sync the raw files from your desktop PC to your Android device.
The RAW conversion to DNG
Each DSLR manufacturer saves their RAW image files with a certain extension: CR2 for Canon, NEF for Nikon, and so on. In this tutorial we'll need to use the DNG format, so in order to edit the raw image files on Android, we'll first need to convert them to DNG (Digital Negative).
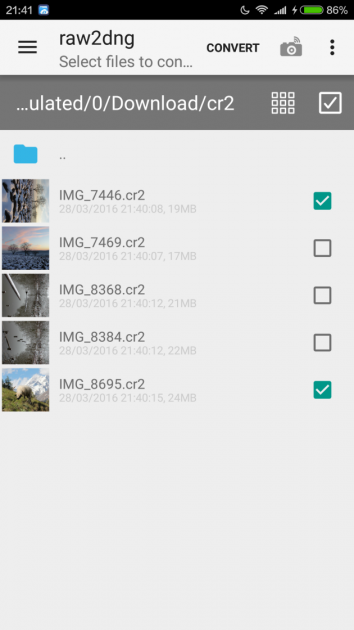
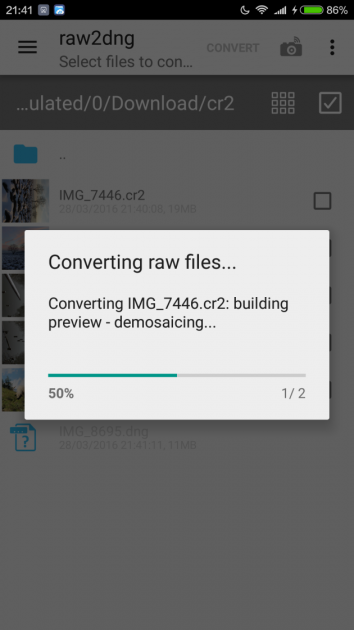
This is easily done with raw2dng, a free app. Simply install it, open it and convert the raw files you transferred in the previous step.
Alternatively, if your raw files are already on your desktop PC, you can convert them to DNG there, before transferring them to the Android device.
The DNG editing
If you don't mind spending a few $, Photo Mate R2 can edit almost every camera-raw format, without the need to convert them to DNG first, thus skipping the previous step entirely. An Android device with 2GB of RAM is recommended.
If you're aiming for free here, meet Snapseed.
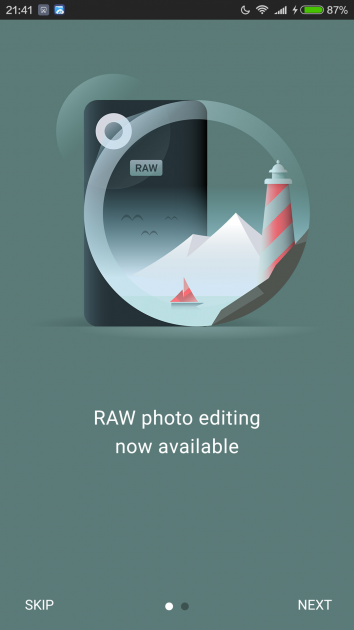
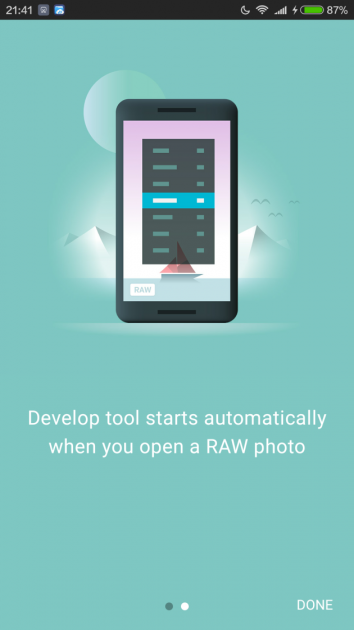
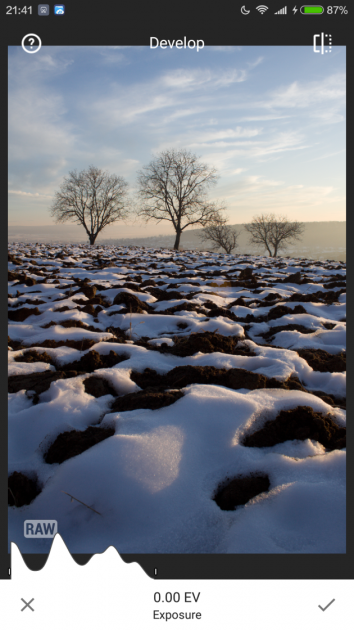
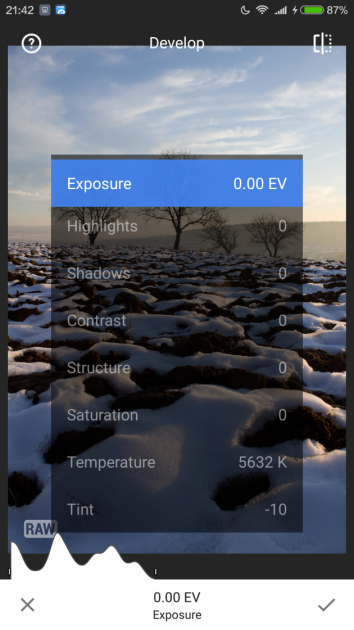
Starting with version 2.1, Snapseed supports editing of DNG files. Simply open a DNG file and it will go straight into RAW Develop mode, which allows you to tweak exposure, white balance (temperature), shadows, highlights, add structure and more. However, not all Android devices are supported and you might receive the following message: "RAW photo editing is not supported on this device".
If Snapseed does not cut it for you, you could try Adobe Photoshop Lightroom. It seems to be better supported across devices and it does support DNG editing as well.
Sharing the result
Once you've finished editing your images in Snapseed, you can either save them on your Android, or share them to other apps you have installed on your device.
That's it.
Since raw image formats are not widely used on Android yet, this guide is open to suggestions. Leave a comment and share an alternative app to be used in this tutorial, or share your own experience with editing raw images on Android.

